
You've got this.
Boba is so easy to set up and use you probably don't need instructions — but here they are. Plan on about 30 minutes to mount it, plus ten minutes of app setup.
- About 30 minutes, start to finish
- Every screw and anchor is in the box
- 2-year manufacturer warranty
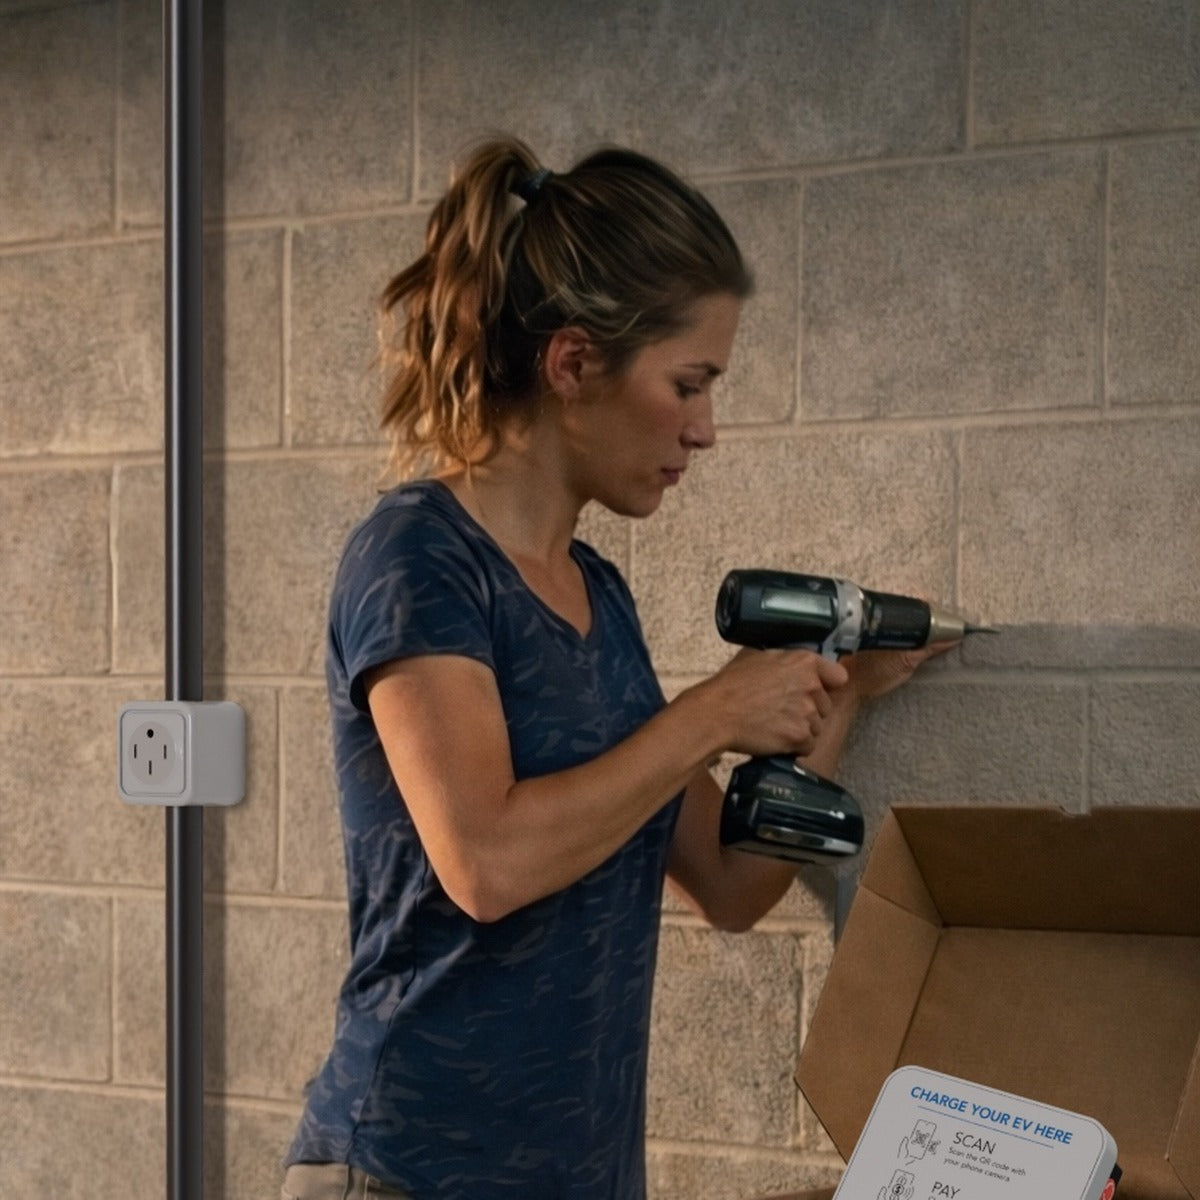
Three things to check
Pick a mounting spot with strong Wi-Fi and a 240V outlet within reach. Everything else takes about 30 minutes.
A 240V outlet within reach
The plug-in model goes straight into the same kind of outlet a dryer, welder or RV hookup uses.
Strong Wi-Fi at the mounting spot
The charger runs on your Wi-Fi network, so check the signal at the spot on the wall before you drill.
A drill, screwdriver and hammer
Plus a drill bit sized for the included wall anchors. That is the whole tool list.
Mount it on the wall
Every screw, anchor and sticker you need ships in the box.

- 1
Pick the spot
A wall with strong Wi-Fi, near where the car parks and within cable reach of the outlet.
- 2
Apply the alignment sticker
Stick it on straight, at the height you want the charger to sit.
- 3
Drill the three holes
Use a bit sized for the included anchors, then tap the anchors in with a hammer.
- 4
Open the enclosure
Unlock the charger from the side with the included key to expose the interior mounting holes.
- 5
Screw it to the wall
Line up the holes, drive the three mounting screws and tighten. Close the charger and lock it with the key.
- 6
Plug it in
Into the 240V outlet. The light flashes green when the charger is in standby and ready to rent.
Hardwired models are wired in by an electrician - 7
Secure the plug — optional
The Boba PowerGuard lock box locks the charger's plug to the outlet so it cannot be unplugged.
Set up the Owner App
Your chargers, your pricing and your income all live in one app.

- 1
Download the app
Get Boba Charge from the App Store or Google Play.
- 2
Join the same Wi-Fi
Connect your phone to the network the charger will use.
- 3
Connect it to Wi-Fi
Tap Rescan, pick the network named NBPower - XXXX, and enter your Wi-Fi password.
- 4
Create your account
Sign up and log in.
- 5
Add your charger
Tap + in the upper right, choose Scan, and scan the QR code on the charger. The serial number fills itself in — check it and confirm.
Set your price and get paid
You set the rate, the hours and where the money goes.

- 1
Name your charger
Give it a name you will recognise in the app.
- 2
Set your price per kWh
You choose the rate, and you can change it any time from the app's main screen.
- 3
Set your available hours
Decide when the charger can be rented.
- 4
List it publicly — optional
Add your address to put the charger on Google Maps and third-party EV apps.
- 5
Add your bank account
Tap Me, then Add bank account. Your phone number and email are never shown to drivers.
Get the Boba Charge app.
One platform controls every Boba Charge model, with a single Owner App for managing multiple chargers, pricing, payments, and payouts.


Manufacturer warranty
Every Boba Charge product — chargers and accessories alike — is covered by a 2-year manufacturer warranty from the date of purchase. If it fails within that time, we replace it.
Tell us what's wrong
Call 1-866-412-BOBA (2622) or email support@bobacharge.com and describe the issue.
Put a credit card on file
We hold a card to secure the replacement unit. Nothing is charged as long as your original charger comes back on time.
We ship your replacement
A new charger goes out right away with a prepaid return label. You pay nothing for shipping in either direction.
Send the old charger back
Pack the original in the replacement's box, apply the prepaid label and drop it off within 7 days of receiving your replacement.
Indicator lights & quick answers
What do the indicator lights mean?
Green flashing — standby, ready to rent. Yellow on — plugged in, charging is starting. Green solid — charging normally. Red on — faulty, check the Emergency Stop button.
The light is red. What do I do?
Pull the Emergency Stop button out to release it, then unplug the charger and plug it back in. The light will flash green.
How do I change my price or my hours?
Tap the charger on the app's main screen and edit the settings.
The charger will not connect.
It needs stable Wi-Fi at the mounting spot, and your phone has to be on that same network while you set it up.
Can I charge my own car for free?
Yes. Toggle Payments off in the app, connect the cable and tap Start Charging.
Can family use it without paying?
Trusted family and friends can sign in with your owner credentials, and multiple simultaneous logins are allowed.
Take the whole guide with you.
The printed booklet that ships with every charger, as a PDF.